Getting Started with Tinilo
Tinilo is very easy to use. You only need to learn a few mechanics.
There are many screens to help you with your work. Luckily they all work the same way.
Tinilo is very easy to use. You only need to learn a few mechanics.
There are many screens to help you with your work. Luckily they all work the same way.
Learn how to navigate in Tinilo
With Tinilo, there is always a navigation menu available on the left side of your window.
Sometimes, it might be hidden: simply click on the top left icon with three horizontal lines. This is called a "burger". It will open or close the left navigation menu.
If you click on the top right icon with a (?), this opens the right navigation menu. It includes options to get help, contact support, and log out Tinilo.
Main left navigation
The left menu is vertical, in a dark grey enclosure.
From there, you can access any part of Tinilo with a couple of clicks.
The section on its right, the vast majority of the screen, we call a panel. This is where you interact with your data.
In the left navigation, you see main entries and sub-menus.
For example, Events is a main entry. When you click on it, it opens sub menus like "All Events", "All Milestones" etc..
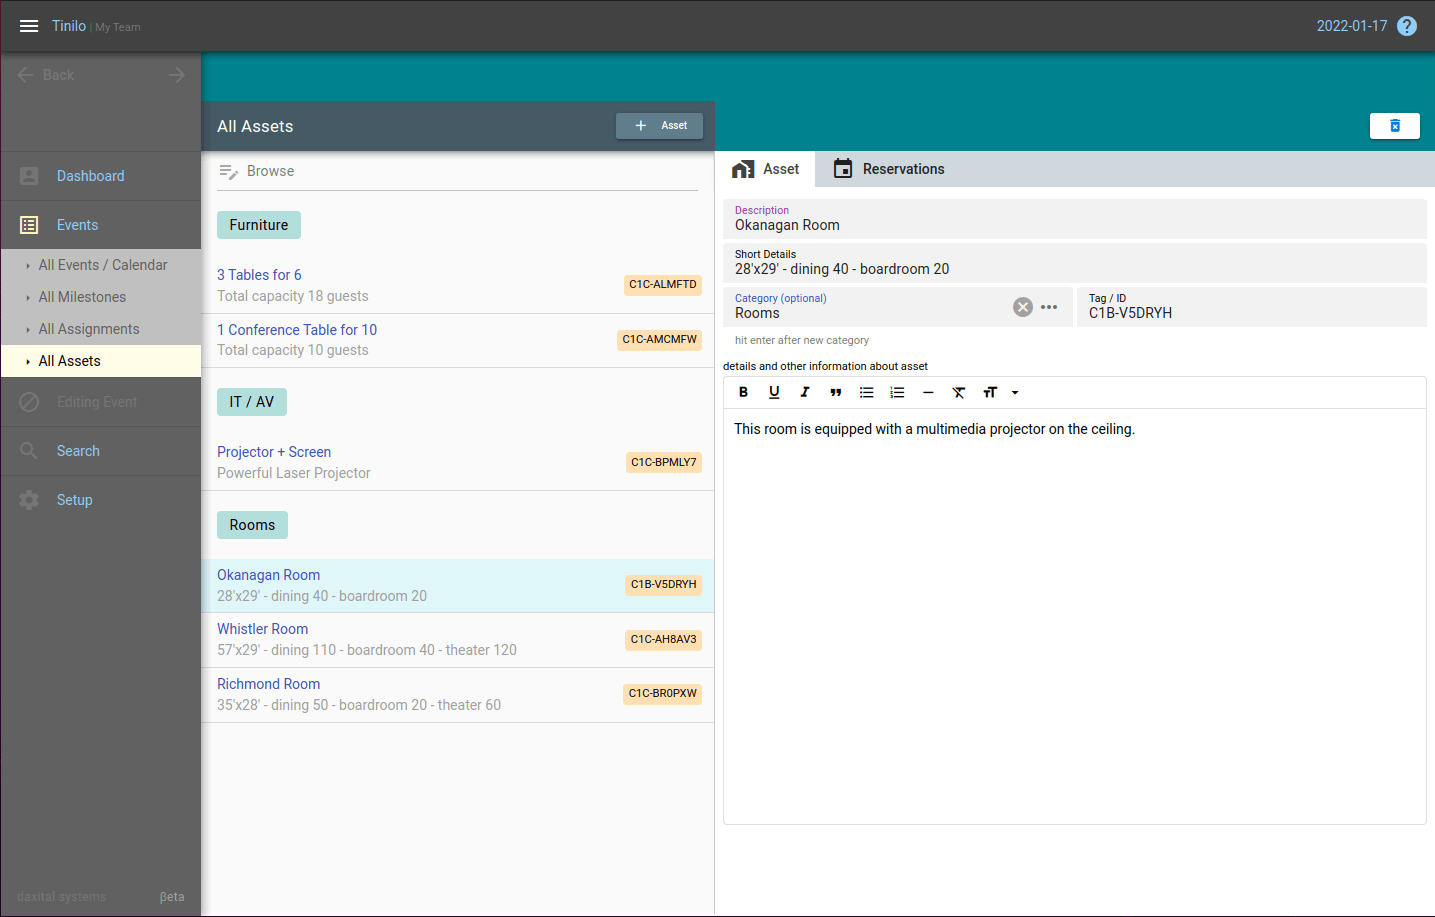
When a sub menu is selected, the panel switches to display data accordingly.
Click on
"All Events" on the left menu
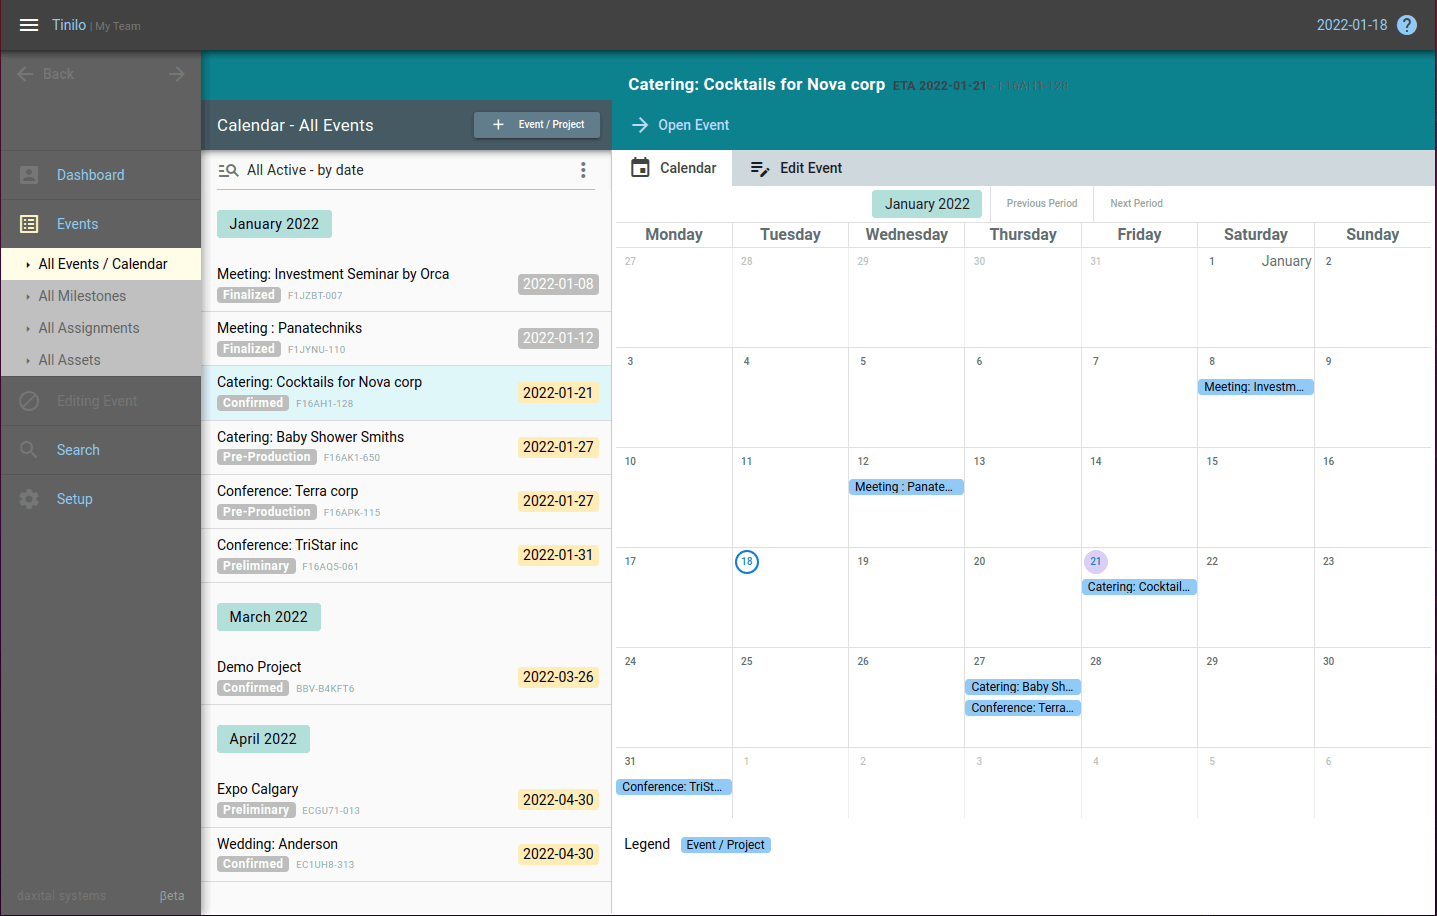
This should show you a calendar with all known events / projects in the system.
Panels are almost always organized the same way.
There is a list on the left. The list contains records and information logically relevant to the menu selected in the left navigation.
Right to this list, there is the main display. This is the larger view where you can typically edit data. Here we see a calendar in the main display.
Click the button "edit details" or the tab "edit"
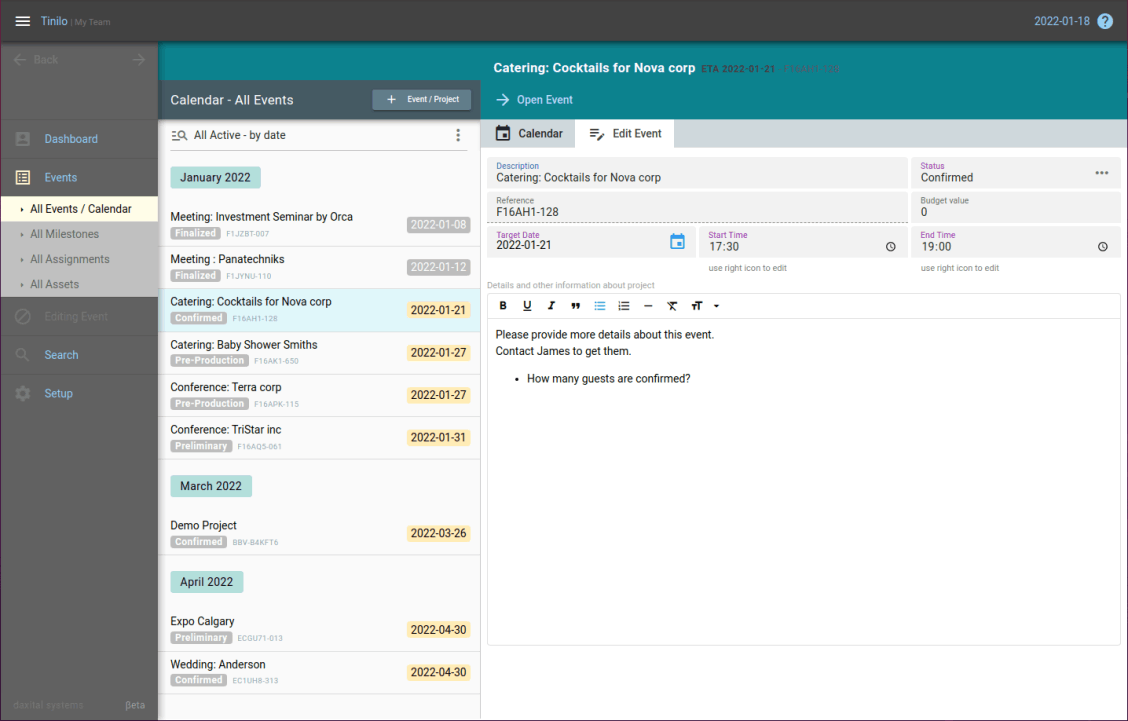
It is typical for the main display to use tabs. This makes it easy to see more information, without changing panel entirely.
The edit event tab, for example, allows you to change the description of an event, and even select another target date for it.
The main display always shows you information related to the record selected in the main list of the left. The selected record is highlighted in blue.
Creating a new record by clicking + buttons
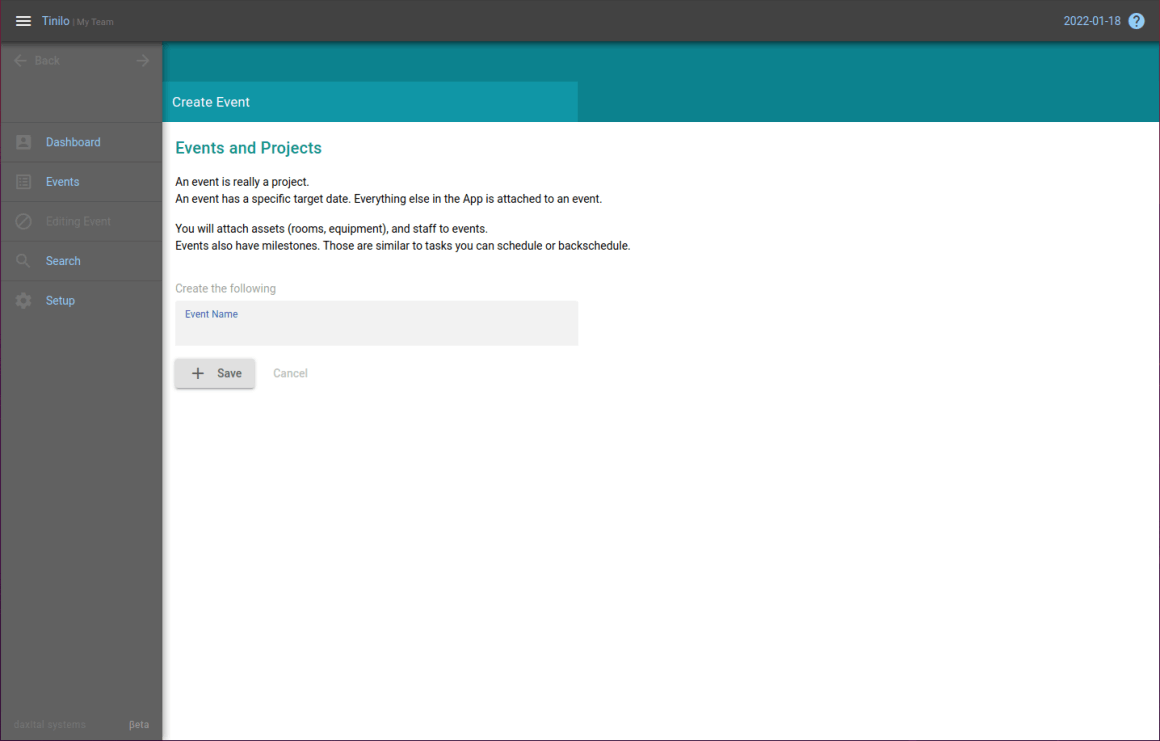
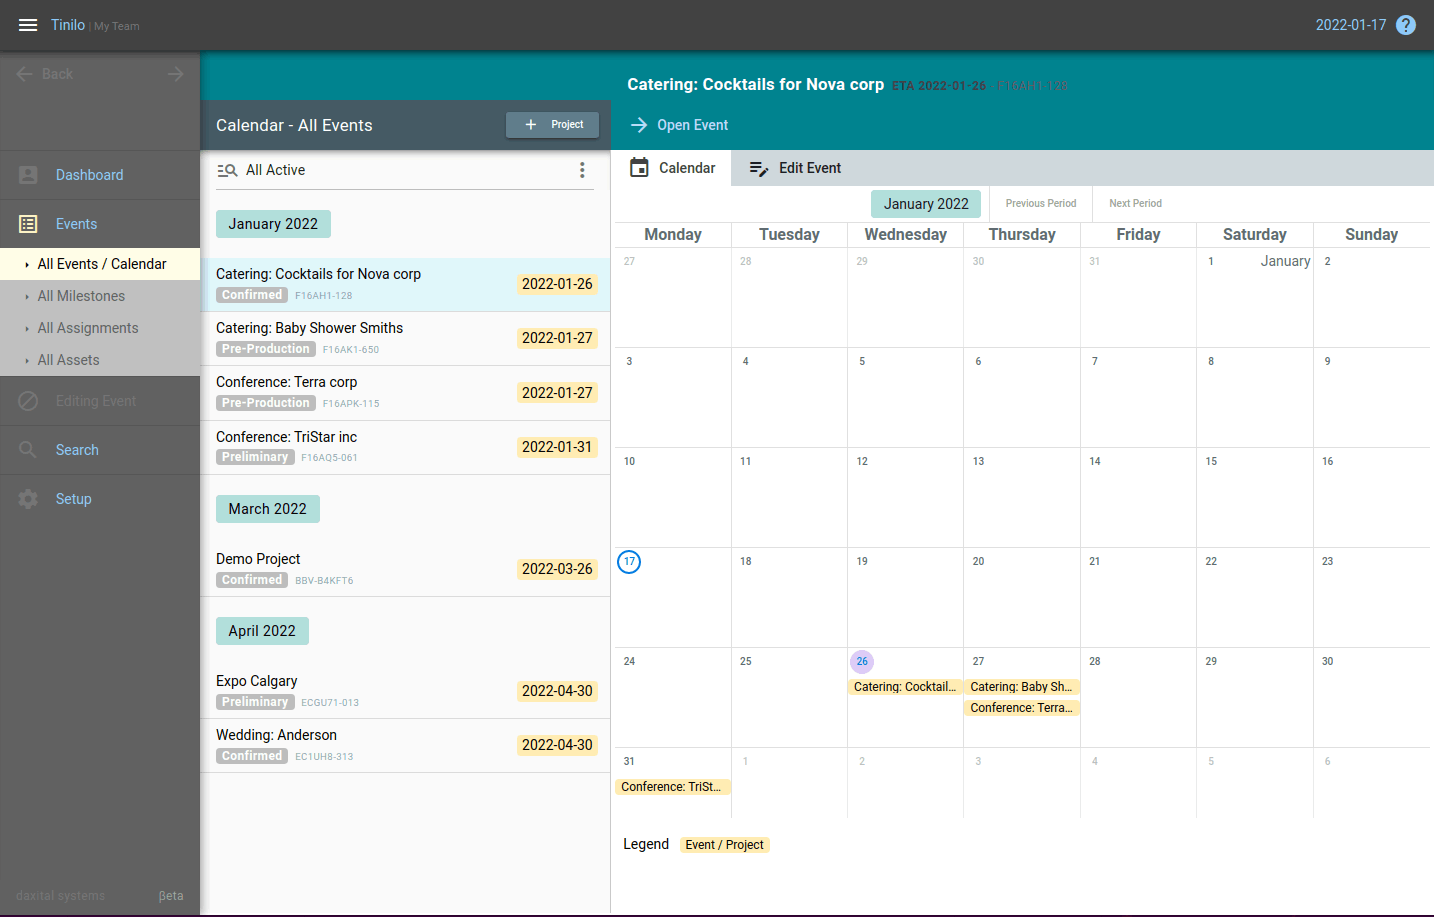
If you can create new records within a panel, you will see a + button, at the very top of the display panel's list. (on mobile, the + button floats at the bottom of the list).
If you click on the + Event in the All Events panel, this will bring you to a new main panel where you can create a new event.
Other panels use a popup dialog to create new records, but it is the same idea: use + buttons to create new records.
Click "All Events" on the left navigation again.
The list of events of the left lets you quickly browse all your events. When you start, you might have a single demo event in the system. This is normal.
Whatever event is selected, you can open it, to get access to most functions in Tinilo.
Simply click on the arrow and button -> Open Event.
This will switch the main panel and the left navigation to the Event editor.
This is where you can add milestones, assignments (staff) to your event.